❌

Reading view

Why set up a VPN on your router | Kaspersky official blog

VPN use is growing around the world, with the worldwide average holding steady at 20% growth per year. Users have come to appreciate everything a VPN offers: it encrypts your connection, shields you from relentless ISP tracking (and the targeted ads that often come with it), hides your IP address and location, and lets you keep using your favorite paid services while traveling. This matters most at big public events, like international football tournaments, the Olympics, or concerts by popular performers, where the odds of scammers intercepting an unprotected Wi-Fi connection go up sharply.

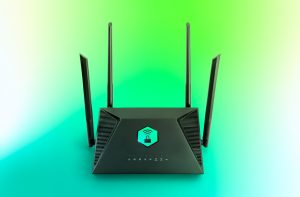
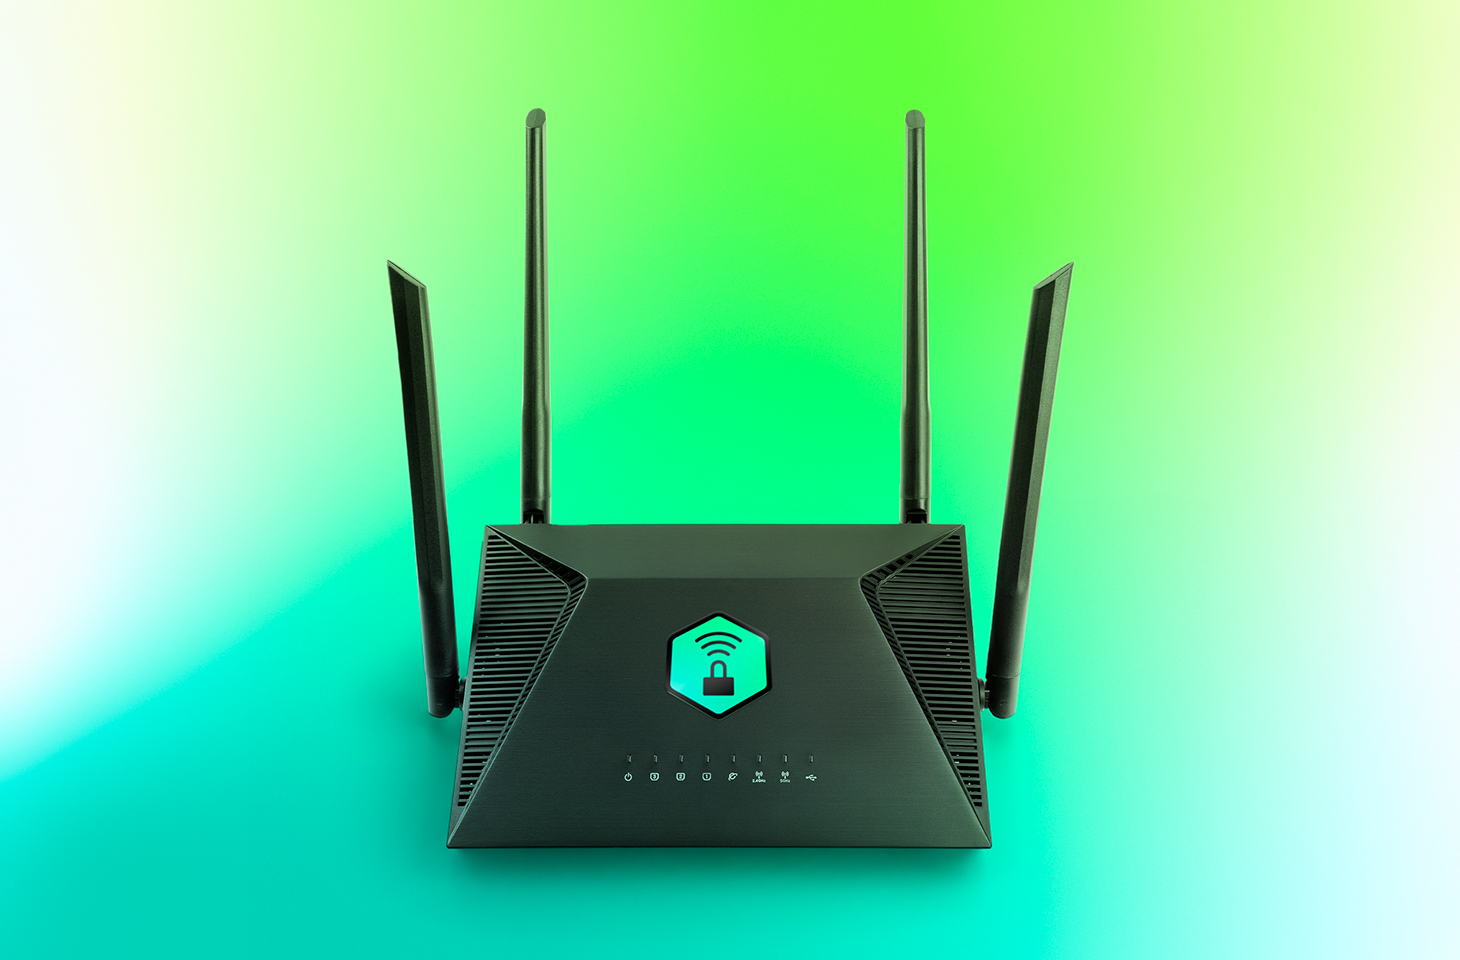
That said, VPNs come with their own frustrations. One of the biggest is that many smart devices – including TVs, game consoles, streaming boxes, and smart-home gadgets – can’t run a VPN at all. On top of that, you usually have to set up the VPN separately on every single device in your home. Installing the VPN directly on your home router solves both problems at once: it protects your entire home network, including newly added devices. Here’s a closer look at what benefits that setup gives you.

1. Every device gets VPN protection

Turn on a VPN on your router, and every device connected to your home Wi-Fi automatically sends its traffic through that protected, encrypted connection. There’s nothing extra to do: connect your phone, laptop, or TV to the Wi-Fi, and its traffic is already routed through the VPN.

Many paid VPN services cap the number of devices you can use under a single subscription. But your router only counts as one device on that list, even though it might be protecting a dozen or more gadgets in your home at once.

It’s worth noting that installing a VPN on a router is usually only possible with paid VPN services. Free plans typically don’t offer this option, or only allow it in a very limited way.

2. Set it up and forget it

Setting up a VPN on every phone and computer in the house can get tedious fast. And if your home devices run on a mix of operating systems, you’ve to start by locating the VPN settings on each one, since Android, Windows, iOS, and macOS all handle this differently.

With a router setup, you configure the VPN once, and it automatically covers any new device you connect later too.

3. Protection even for devices that don’t support VPN

Plenty of devices can’t run a VPN at all. That includes smart TVs, streaming boxes, game consoles, and nearly every piece of smart-home tech out there, from baby monitors to robot vacuums. A VPN on your router protects all of them, and you don’t have to tinker with your vacuum cleaner or smart bulb’s settings separately.

4. No need to worry about turning the VPN on and off

Many people want to make sure that not a single byte of their data leaves their device before the VPN kicks in. The problem is that there’s always a short gap between turning on a computer or phone and the VPN firing up, and during that window, data travels over the internet unencrypted.

The usual fixes are to turn on special features – such as Always On VPN or a VPN kill switch – in the operating system or VPN app. A more effective option though is running the VPN on the router itself. That way, “not a byte without the VPN” becomes true automatically for every device on your home network. But for complete peace of mind, you’ll still want to set up a kill switch on the router too, so that if the VPN ever disconnects (say, the VPN server becomes temporarily unavailable), your devices lose their internet connection entirely rather than falling back to an unprotected one.

5. Working remotely with two VPNs at once

Another common headache is needing to run two VPN services at the same time. This usually comes up with remote work: you need a corporate VPN to connect to your company’s network, while also wanting a personal VPN for everything else. On many devices, running two VPN connections at once for different purposes is either a real hassle to configure or not possible at all. Constantly switching between the two isn’t convenient either, and it opens up privacy and security gaps.

A VPN on your router solves this too. You simply turn on the corporate VPN on your work computer, and it runs on top of your Wi-Fi connection, which is already protected by your personal VPN on the router. In effect, you end up with one VPN nested inside the other (corporate VPN → Wi-Fi → VPN → internet), but this layered setup rarely causes any issues.

6. Getting around apps that block VPNs

Some banking and streaming apps can detect when a VPN app is running on your device and simply refuse to work. Usually, they can’t tell what kind of VPN it is or why you’re using it. They just object to any VPN connection being active at all. If the VPN runs on your router instead of on the device itself, this problem disappears.

7. Protecting guests on your home network

Any device belonging to friends or family that connects to your Wi-Fi automatically gets VPN protection too, with no setup required on their end.

8. Less strain on your devices

Since the router handles the encryption workload, your phones, tablets, and other lightweight devices can use less computing power and drain less battery than they would if running a VPN themselves.

9. Simplified VPN management

Need to switch VPN servers, change protocols, or tweak other settings? Just do it once, on the router. There’s no need to reconfigure every device separately.

Precautions and things to keep in mind

For all its advantages, running a VPN on your router does come with a few trade-offs worth knowing about.

  • Encrypting traffic for an entire network takes real processing power, so on an underpowered router, your connection speed may end up limited.
  • Some routers don’t support VPNs at all, or only work with older, less secure protocols like PPTP.
  • If your router was issued by your ISP, you may not have enough permissions to install a VPN on it.

In any of these cases, you can buy a more capable router that supports VPNs, and use it either instead of, or alongside the ISP-issued box, setting up your home network and VPN on your own hardware.

With this setup, your devices connect as follows: device → Wi-Fi or Ethernet → personal VPN on router → internet. For computers that also connect to a corporate VPN, the path looks slightly different: corporate VPN on computer → Wi-Fi or Ethernet → personal VPN on router → internet.

If you can’t connect your own router directly to your ISP’s network because your model lacks the right port (for example, with a fiber connection), you can use an Ethernet cable to plug your personal router’s input into your provider’s box. In that case, you can either switch the ISP-issued router into bridge mode or simply turn off its Wi-Fi so it doesn’t add unnecessary wireless clutter, since its only job now is connecting to the provider’s network and passing that connection along to your own router.

It’s also worth noting that some online services – like banks, government sites, online stores, and streaming platforms – may restrict or block access entirely when they detect a foreign IP address through a VPN. To get around this, you can either turn off Wi-Fi on your phone and use your mobile data instead, or take a more sophisticated approach to your router setup, as described below.

Most modern routers let you create more than one Wi-Fi network, usually supporting at least a separate home and guest network, each with their own settings. You can use this to create two networks: one with the VPN always on, and one without. Then, for services that don’t play well with VPNs, you can simply switch to the unsecured Wi-Fi network instead.

If you’re willing to spend some more time on setup, there’s an even more convenient option, known as split tunneling: individually configuring certain services or websites to bypass the VPN while sending everything else through your secure VPN connection as usual. To do this, you’ll need to specify the addresses of the sites that should skip the VPN.

Many feature-rich routers also let you divide your home devices into groups and set different connection rules for each group. That way, you could set things up so your smart TV reaches streaming services without a VPN, while your smart home devices, computers, and phones only ever connect to the internet through the protected channel.

How to set up a VPN on your router

Setting up a VPN on your router might sound more complicated than installing it on individual devices, but it delivers far more comfort and protection for your whole home network.

To do this, you’ll need a router that supports VPNs, and a subscription to a VPN service that can generate configuration files for routers using modern VPN protocols. Kaspersky VPN supports the two most widely used VPN protocols – OpenVPN and WireGuard – for connecting routers to the service.

You can create a Kaspersky VPN configuration file for your router by following our detailed guide. For instructions specific to your router model, we recommend searching online or asking an AI assistant something like “how to set up a VPN on {your router model}“.
  •  

How a hidden Wi-Fi network name can give away your data to strangers | Kaspersky official blog

For more than two decades now, setting up a home router has meant going through the same old routine: pick a Wi-Fi band, name your network, choose a security type, and set a password. After you type in your network name, you often see an option next to it to hide the network name — sometimes labeled hide SSID, or simply hidden or closed network. If you choose this option, the network you create won’t show up automatically in the list of available Wi-Fi networks on any smartphone, computer, or smart-home device — you need to type in the correct network name by hand. Only then will the device be able to find that network and connect to it. At first glance, hiding your wireless network’s name might seem like a smart precaution: keeping neighbors or passersby from hacking into your Wi-Fi since they simply can’t see it. But in fact things work differently: all your devices will give away the hidden network — and not just at home either.

How devices connect to Wi-Fi

Every Wi-Fi access point broadcasts a short data packet roughly 10 times a second so your smartphone or computer can show you a list of nearby networks’ names, like JohnWiFi, TommyNet, CafeDeArts_Guest, or other, creative variants. This packet contains (i) the network’s name (Service Set Identifier, or SSID), (ii) a unique identifier for the access point (Basic Service Set Identifier, or BSSID), and (iii) details about the radio channel the network uses. This info helps devices (i) pick the best network to connect to, and (ii) automatically join networks they already know; accordingly, none of the data in that packet is encrypted. Hidden networks also broadcast these advertising packets; they just leave the SSID field blank. This method of finding networks is called passive because a Wi-Fi client, like, say, your smartphone, just needs to listen to the airwaves to spot nearby access points.

On top of that, the client can scan for Wi-Fi networks on its own, which is known as active discovery. Your smartphone or computer is constantly broadcasting the names of Wi-Fi networks it knows and would like to connect to. If one of those networks happens to be nearby, the access point answers back, and the connection is made.

Active discovery can sometimes help save your smartphone’s battery, and it’s indispensable when you’re working with hidden networks. Discovering a hidden network and connecting to it becomes a two-step process. First, the smartphone “hears” that there’s a Wi-Fi access point nearby with a hidden network name. It then tries to reach that network by broadcasting the names (SSIDs) it already knows — either hidden networks it’s connected to before, or the name the user typed in when first connecting to a hidden network. If the name matches, the router responds, and the connection goes through.

A hidden network name (SSID) doesn’t actually hide your Wi-Fi network

The regular list of available Wi-Fi networks on your smartphone or computer won’t show networks that don’t broadcast a public SSID. But any specialized Wi-Fi scanning software can spot them easily — it just won’t show their names. And hidden networks are still easy to identify and tell apart thanks to each router’s unique BSSID.

So hiding a Wi-Fi network’s name doesn’t make it truly invisible, and it won’t protect you from cybercriminals. It’s worth noting that any large-scale analysis, such as mapping the geographic locations of Wi-Fi networks, relies on BSSIDs, not SSIDs. Besides the huge databases kept by Apple and Google, there are public access-point-mapping projects too, like WiGLE.

If someone wants to break into a network at a specific location, specialized software lets them find out its SSID just by waiting for one of the legitimate clients to connect and listening in on the active discovery session. From there, they can connect to that Wi-Fi network — provided it uses a weak enough security protocol.

Your devices leak hidden Wi-Fi network names and personal data

The main drawback of a hidden SSID is that smartphones and computers have to broadcast it before they can connect to the wireless network. And they do this everywhere — not just near the specific access point in question. As soon as any network with a hidden name shows up within signal range, the client attempts to connect, and during that attempt it broadcasts the names of every hidden network it knows. And this broadcast isn’t encrypted, which means anyone nearby can pick up the data being transmitted.

In 2021, researchers at the University of Hamburg ran an experiment collecting radio signal data on a busy street. In just three one-hour listening sessions, they gathered 252 000 Wi-Fi connection requests from passersby’s smartphones. Of those, 23% contained the SSID of a network the smartphone would have preferred to connect to.

And that’s where a factor few people think about comes into play: the network’s name itself. Twelve percent of the SSIDs found were long numeric strings that looked a lot like passwords. So, once someone knows the SSID and BSSID, they can look up the BSSID in a service like WiGLE and find the access point’s real-world address. Once there, an attacker can try to use such a string as both the SSID and the password to connect — with a good chance of success. The researchers’ sample also included 106 SSIDs containing a first and/or last name, 92 SSIDs that pointed to a home address, and three that revealed an email address.

Given all this, it’s no surprise that Apple and Asus recommend against using the hidden SSID feature.

Other drawbacks of hiding your Wi-Fi network

Beyond the data leak issues, hidden SSID technology — a holdover from early Wi-Fi versions — also hurts the performance of modern versions of the radio protocol. In the 6GHz band, searching for a hidden Wi-Fi network across 59 possible channels becomes noisy and power-hungry: the client has to run through every option and send a lot of requests. As a result, performance drops for all nearby Wi-Fi networks in the 6GHz band, and the client itself burns through battery power sending out all those requests.

Asus also points out that Windows devices may tend to connect to visible networks first — even if a network with a hidden SSID is available and marked as preferred.

When a hidden SSID actually makes sense

There aren’t many scenarios where hiding your network name is genuinely useful. For example, if a router is meant for a small group of people but is installed in a very crowded location, a hidden SSID can cut down on the number of connection attempts and ease the load on the router. But keep in mind that this boosts performance, not security — and only slightly at that.

Another similar case is a technical Wi-Fi network for a limited number of fixed devices — like a network of security cameras or smart home gadgets. These devices always stay in the same place, so whenever they try to connect to their assigned Wi-Fi, they find it right away, and no data leaks out — unless an attacker is actually listening in on the radio signal near the router. At the same time, outsiders are less likely to try connecting to such a network.

How to make your Wi-Fi more secure

To protect your Wi-Fi network from wireless hackers, don’t hide the SSID: instead, use the modern WPA3 security protocol along with a long password. Attackers can intercept data over the air and then try to crack the password with brute force, so a strong Wi-Fi password should be at least 20 characters long. The easiest way to generate and store such long, hard-to-crack passwords is with a password manager that syncs across your devices; that way they’re always at hand — no matter which gadget you’re using.

If some of your older devices don’t support WPA3, it’s fine to use WPA2 with protected management frames (PMF) turned on, which guard against many types of attacks on Wi-Fi networks.

You should also make sure Wi-Fi Protected Setup (WPS) is turned off, since it essentially replaces your password with an easy-to-guess PIN code.

To quickly spot unknown devices connected to your Wi-Fi network, use Smart Home Monitor in Kaspersky Premium.

As for the network name, instead of hiding it, pick one that doesn’t reveal your name, address, or any other personal details. It’s also worth avoiding default network names like ISPName-XXXX or dlink, but for a different reason: generic names like these can confuse you and your guests alike. If you don’t want your access point to show up on Wi-Fi geolocation maps from Apple, Google, and other providers, you can add the suffix _nomap to the end of your network name, but there’s no guarantee it will actually work.

Apart from protecting your Wi-Fi, make sure your router is configured securely overall. First and foremost, that means giving it a long, unique admin password, and keeping it updated with the manufacturer’s latest firmware. And if you have a bit more time, you could even boost your Wi-Fi performance.

How Wi-Fi networks get hacked, and how to protect them:

  •  
❌